Introduction
In the car tuning industry, correct operation can achieve the best installation results. This article is a relatively general installation guide for facelift body kits, breaking down and detailing each key step to help your modification team reduce installation concerns and ultimately achieve a solid and reliable factory-level installation effect.
What is a Body Kit?
Generally speaking, a modify body kit is a set of exterior components that change the appearance of a car in the aftermarket. By adding to or replacing the original parts of the vehicle, it brings visual changes and performance enhancements. For a full body kit, the core components include: front bumper / front lip, rear bumper / rear diffuser, side skirts, rear wing / spoiler, and wide-body fenders. All components form a unified system, working together to ensure the consistency of the whole vehicle.
Tools You Will Need Before Starting
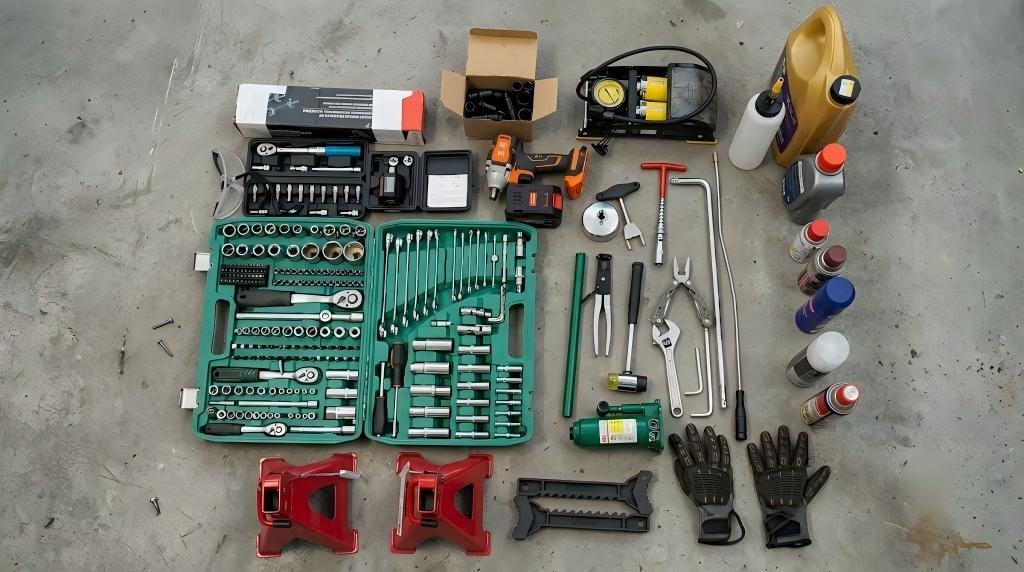
Before officially installing the auto body kit, you need to prepare some essential tools and equipment A professional body kit fitting and alignment often requires the following:
| Category | Tools & Equipment |
| Disassembly Protection Tools | Masking tape, trim removal tools, car lift or low-profile jack |
| Trial Fitting and Fixing Tools | Die grinder or rotary tool with burr bits, electric drill, drill bits, sandpaper or long-board sander, industrial heat gun,Cleco fasteners (highly recommended for temporary panel holding) |
| Precision Installation Tools | Digital torque wrench, laser level, vernier caliper, pneumatic rivet gun, rivets, structural adhesive and degreaser |
| Safety Protection Equipment | Safety goggles, long-sleeved coveralls, gloves, respirator(mandatory during sanding) |
Body Kit Installation Process
Step 1:Test Fitting & adjustment
In the high-end automotive aftermarket modification process, new parts need to be first placed onto the car to compare positions and check the fitment, without applying adhesive or drilling holes. You need to pay attention: When a part does not press into place smoothly, never force it.
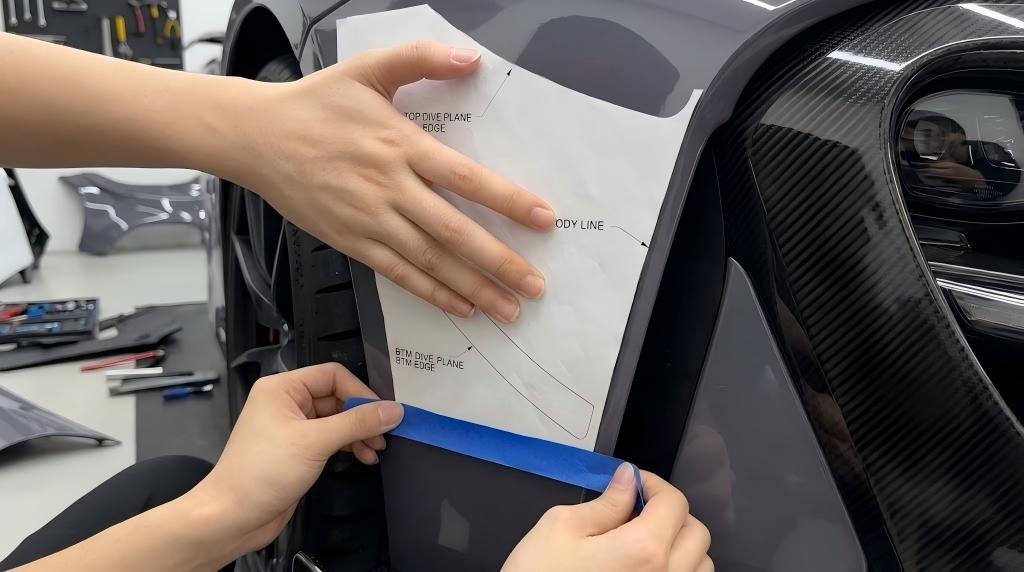
- Protecting the original paint: Apply at least two pieces of masking tape to the original panels to avoid accidental scratches during installation and removal.
- Checking fitment: Use tools such as C-clamps, tape, or Cleco fasteners to temporarily secure the part to the vehicle bodyCarefully inspect the body kit panel gap adjustment and overall alignment.
- Marking mounting holes: Confirm and mark the screw holes for the parking sensors (PDC), ADAS cameras, and tow hook.
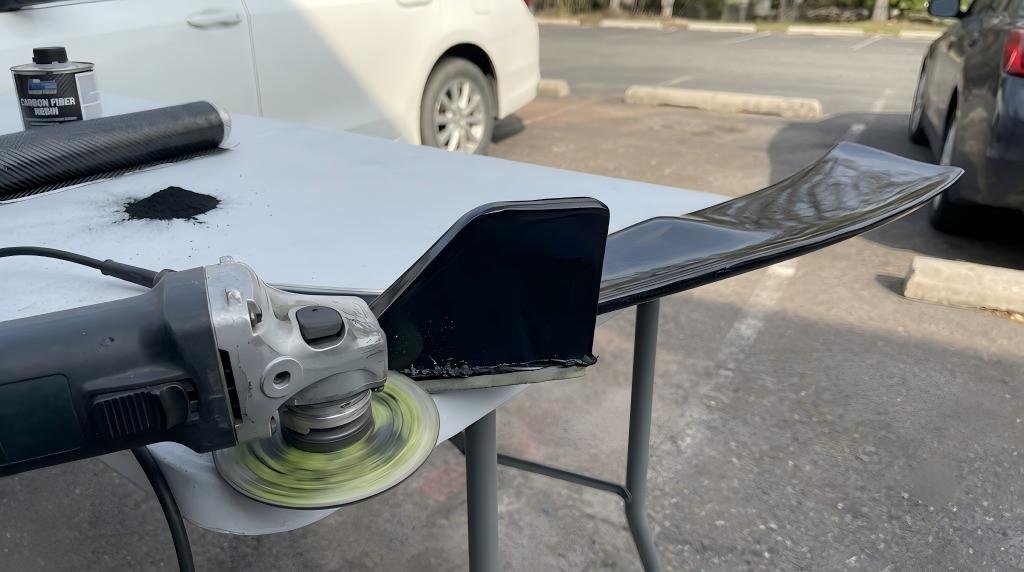
- Sanding and fine-tuning: If the part is tight, gently trim it using an electric engraving pen or a hand sanding block.Note: If an excessive gap is found, note it down for correction in the surface preparation stage, but avoid applying body filler here before the part is fully cleaned.
Step 2: Surface Preparation
The painting steps below are primarily for raw plastic/fiberglass parts that need color matching. If your kit comes pre-painted or is clear-coated carbon, skip to Step 4 .Surface preparation must be taken seriously. If you handle it improperly, it may later cause paint peeling, ripples, and other issues, damaging the original visual appearance.
- Remove mold release agent: Remove the part, and thoroughly wipe the bonding area on the body and the back of the part with a degreaser or solvent cleaner. Then let it sit until completely dry.
- Secondary sanding: Use a long board sander with medium-fine grit sandpaper (such as 400 grit, 800 grit, or even finer) to finish and level the entire large visible surface of the body kit.Now, if gaps were noted during dry fitting, this is the time to fill them with body filler (putty) and sand smooth.
- Spray primer: Once the body kit surface achieves ultimate smoothness, spray high-build primer. Here it is strongly recommended to add a flex agent to the primer to enhance rigidity. Safety note: Always wear a respirator when sanding primer or body filler.
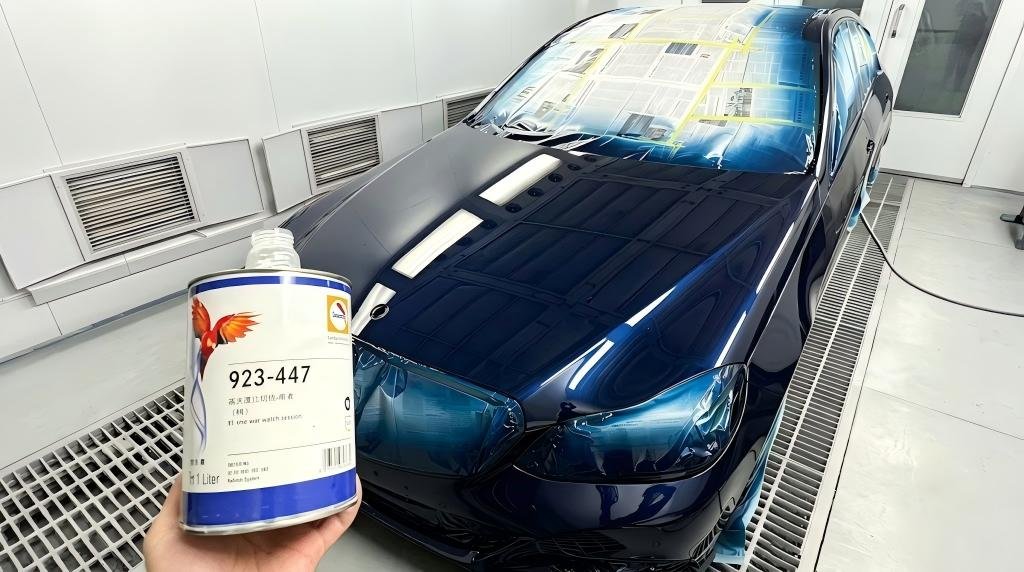
Step 3: Painting & Curing
The painting stage is the dividing line between an ordinary repair shop and a professional shop like yours. Achieving a perfect paint finish requires correct technique and absolute patience.
- Precise color matching: First, use a spectrophotometer to accurately identify the original paint color of the vehicle. Then, when spraying, “blend” the color into the adjacent factory body panels to achieve a seamless visual transition.
- Clear coat: Adjust the viscosity of the clear coat, then perform wet sanding and polishing. The goal is to make the surface texture of the aftermarket part’s paint completely identical to that of the original vehicle.
- Baking and curing: After painting is completed, the complete body kit must be baked in a temperature-controlled spray booth. After curing, depending on humidity and temperature, sufficient time must be allowed for the paint to fully cure naturally and release solvent gases.
Step 4: Final Assembly
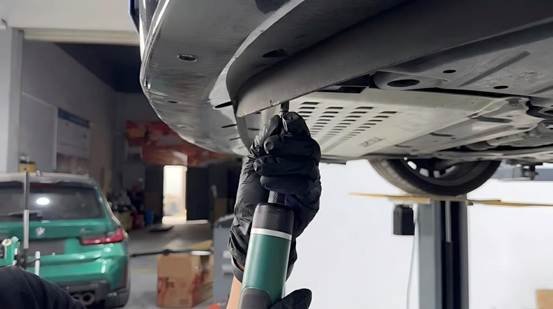
So far, all your preparation work has been completed. When installing heavy and large aero body kits, at least two people are needed to work together. Improper handling can lead to paint damage, part breakage, and other issues.
- Apply masking tape: Before formal installation, apply masking tape to the car’s adjacent panels to prevent unnecessary friction and damage.
- Fixing: Use the original mounting brackets, mounts, and clips for fixing. If you wish to replace parts, also use high-quality stainless steel, titanium, or automotive-grade plastic rivets.For wide-body over-fenders, apply structural adhesive along the edges before riveting to ensure waterproofing and long-term durability.
- Electronic system calibration: Reinstall and activate the parking distance control (PDC) sensors, and correctly connect the radar and camera wiring harnesses of the advanced driver assistance system (ADAS) after bumper replacement.Proper ADAS calibration after bumper replacement is critical for safety.
- Final fine-tuning: Fine-tune while keeping the bolts slightly loose to ensure all gaps are even and meet factory standards, then using a digital torque wrench, tighten all fasteners to the vehicle manufacturer’s specified torque values.
FAQ
1. Q:Does the Installation Guide Apply to All Conversion Body Kits?
A:Yes, this is a complete installation guide for high-end aftermarket body kits. However, professional technicians still need to make minor adjustments based on the material of the kit.
2. Q:Why is a certified body shop essential for achieving OEM-level fitment?
A:A certified shop features a complete suite of professional equipment and is operated by technicians with years of specialized training. This expert handling eliminates post-sale fitment issues and ensures the highest level of satisfaction for the end-user.
3.Q:Is There a Specific Sequence for Installing a Full Body Kit?
A: Yes, there is a relatively fixed installation sequence during the process. Usually, install the side skirts and wide fenders first → then the front and rear bumpers → then the front lip and rear diffuser → and finally the trunk spoiler, GT wing, and front bumper canards. This sequence has been rigorously tested to ensure maximum protection of the kit during installation and removal.
4. Q:Is Cutting Required for the Installation?
A: Not necessarily; it depends entirely on body kit types. Normally, front lips, side skirts, and front/rear bumpers can be directly installed onto the factory chassis mounting points without any irreversible damage. However, a full widebody kit requires professional fender cutting and rust-sealing.Additionally, more costs are required.
5. Q:Will the Body Kits Produced by Shanghai CS Auto Parts Co., Ltd. Affect the Electronic Systems on the Vehicle (Radar, ADAS)?
A: Absolutely not. Our kits are ADAS safe body kit designs, meaning they are engineered with electronic equipment in mind from the beginning.. As long as you install them correctly, all safety features will function normally. If any issues arise, our professional engineers will provide expert guidance.
Final Thoughts
How to install body kit for car?Through test fitting, adjustment, surface prep, paint, and assembly, and each installation project can help you achieve factory-level quality standards. Our body kits for Range Rover, Bentley, Mercedes-Benz, and supercar series are 1:1 factory-molded for 100% fitment accuracy. Partner with us to cut labor time and boost your shop margins. Inquiries welcome.